 Mark Thompson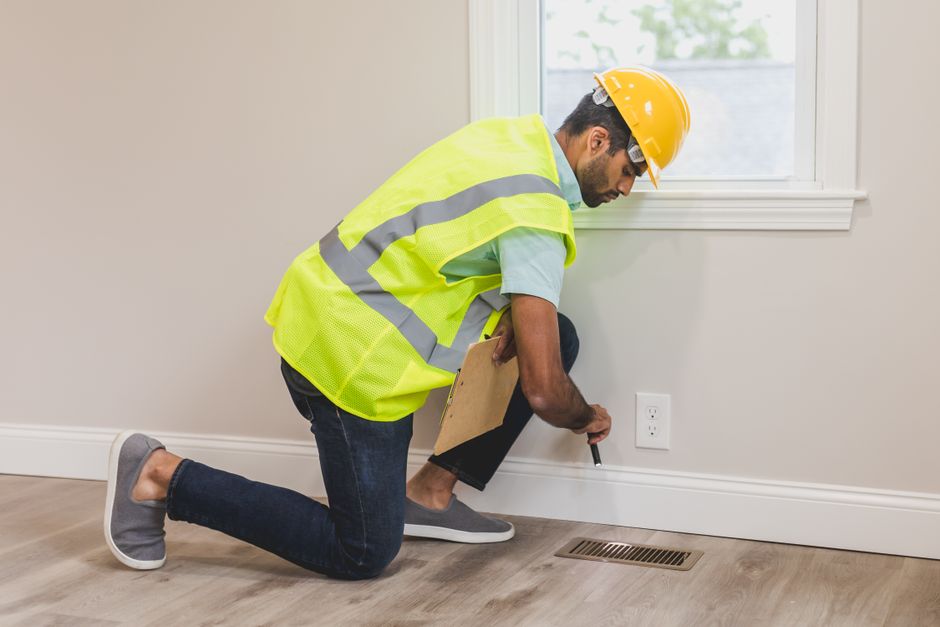
Most homeowners never read their policy until the moment they need it. A pipe bursts at 11 p.m., water spreads across the hardwood floors, and suddenly you’re squinting at a 60-page document trying to figure out what comes next. I’ve seen this play out hundreds of times. The homeowners who navigate claims smoothly aren’t the ones with the best policies, they’re the ones who knew what to expect before disaster struck. The process has more steps than insurers advertise, and the gaps where claims go sideways are entirely predictable. Let me walk you through exactly how this works.
What Happens Right After a Loss: The First 48 Hours Matter
As of June 2026, The clock starts the moment something goes wrong. Most policies require you to report a claim “promptly” or within a “reasonable time,” and while that language sounds flexible, it isn’t. Delayed reporting is one of the most common reasons insurers reduce or deny claims. Some policies have specific windows, particularly for certain perils. Don’t assume you have weeks.
Your first call isn’t to your insurer. It’s to stop any ongoing damage. Policies include a “duties after loss” clause that requires you to take reasonable steps to prevent further damage. If a window breaks in a storm, board it up or cover it with plastic before water gets in. If a pipe bursts, shut off the water. Failing to do this can give the insurer grounds to deny the portion of damage that occurred after the initial event. Keep every receipt from emergency mitigation work, that cost is typically reimbursable.
Document everything before you clean up. Take photos and video from multiple angles. Get wide shots to show context, then close-ups of the actual damage. Capture the ceiling, the floor, the walls. If appliances or personal property are involved, photograph serial number tags. This documentation is your evidence, and once you’ve started cleaning or repairs, it’s gone.
Then call your insurer. The claims number is on your declarations page (the summary sheet at the front of your policy). When you call, you’re opening a claim and getting a claim number. Write that number down. Every future conversation should reference it.
Understanding Who Shows Up: Adjusters and Their Role
Helpful resource: Honeywell 1104 Fireproof and Waterproof Safe Box is a top-rated option for this. (As an Amazon Associate this site earns from qualifying purchases.)
After you file, the insurer assigns an adjuster to your claim. Here’s what most people don’t realize: the adjuster works for the insurance company. Their job is to assess the loss accurately, which usually means finding the legitimate scope of damage. But they also have an incentive to keep payouts within what the policy actually covers, and sometimes that means looking for reasons to limit a claim.
Two main types exist. A staff adjuster is a direct employee of your insurer. An independent adjuster is a contractor the insurer hires, often during catastrophe events when staff can’t keep up with volume. Neither type is inherently bad, but it’s useful to know who you’re dealing with.
When the adjuster visits, be present. Walk through every affected area together. Point out damage, ask questions, and take your own notes. You’re allowed to disagree with their assessment. If you believe the adjuster missed something or undervalued your loss, you can request a re-inspection or hire your own public adjuster.
A public adjuster works for you, not the insurer. They assess your damage independently and help negotiate your settlement. They typically charge 10-15% of the final payout, so they’re most useful on large, complex claims. The National Association of Insurance Commissioners (NAIC) provides consumer guidance on working with public adjusters at naic.org, including how to verify credentials and what to expect from the relationship.
How the Settlement Is Calculated: ACV vs. RCV
Home Insurance Claims: What To Do & How to Handle Adjusters · Beaux Knows Insurance - Reed Insurance on YouTube
| Valuation Method | Depreciation Applied | Payment Structure | When to Use |
|---|---|---|---|
| Actual Cash Value (ACV) | Yes, factored into payout | Single payment after assessment | Lower premiums; older items |
| Replacement Cost Value (RCV) | No; paid in two stages | ACV first, then depreciation recovered upon proof of repair/replacement | Higher premiums; protection for newer/valuable items |
This is where many claims disappoint people, and it’s almost always because they didn’t understand this distinction before filing.
Two ways exist for your insurer to value a loss: Actual Cash Value (ACV) and Replacement Cost Value (RCV).
ACV pays you what your damaged property was worth at the time of the loss, factoring in depreciation. A roof that’s 15 years old with a 20-year lifespan might be depreciated by 75%. If replacement costs $20,000, you might receive $5,000 minus your deductible. That’s a real number that surprises people every single day.
RCV pays what it actually costs to replace or repair the item with something of like kind and quality today. Most RCV policies work in two stages: the insurer first pays ACV, you complete the repair or replacement, and then you submit receipts to recover the “recoverable depreciation.” You have to actually spend the money to get the full amount. If you pocket the ACV check and don’t repair, you don’t get the second payment.
Check your declarations page right now. It will say “Replacement Cost” or “Actual Cash Value” for both your dwelling and personal property. They can be different. Many homeowners have RCV on the structure but ACV on contents, which matters enormously if you lose furniture, electronics, or clothing.
Your deductible also plays into this calculation. For a deeper look at how deductibles work and how to choose the right one, the homeowners insurance deductible explained guide on this site breaks it down clearly.
Step-by-Step: Filing a Homeowners Insurance Claim
Here’s the actual sequence in plain terms.
Step 1: Secure the property and prevent further damage. Board up openings, shut off water sources, contain hazards. Save all receipts.
Step 2: Document the damage thoroughly. Photograph and video everything before touching it. If you have a home inventory, pull it up now. A home inventory app like Encircle or Sortly can make this dramatically faster if you set it up before a loss occurs. (This site may earn a commission on qualifying purchases.)
Step 3: Review your policy. Look at your declarations page for covered perils, your deductible amount, and any specific exclusions. Find the “duties after loss” section so you know exactly what’s required of you.
Step 4: File the claim. Call the insurer’s claims line or file online. Note the claim number, the adjuster’s name and contact info, and the expected timeline for an inspection.
Step 5: Meet with the adjuster. Be present. Walk every area of damage together. Take your own photos during the walkthrough. Ask the adjuster to explain what they’re documenting.
Step 6: Review the estimate. The insurer will send a written scope of loss and settlement offer. Read it line by line. Compare it to contractor estimates if you’ve gotten them independently.
Step 7: Negotiate if needed. If you disagree, provide documentation: contractor bids, photos, receipts for similar items. You can request a re-inspection. If the dispute is significant, consider a public adjuster or consult a policyholder attorney.
Step 8: Get repairs done and submit final documentation. For RCV policies, keep all receipts and submit them to claim recoverable depreciation.
Common Reasons Claims Are Delayed or Denied
In my experience reviewing claims from the inside, most denials aren’t random. They follow predictable patterns.
Maintenance exclusions. Homeowners insurance covers sudden and accidental damage, not problems that developed over time. A roof that’s been leaking for two years isn’t a claim. A roof that fails in one storm might be. Adjusters are trained to look for evidence of pre-existing deterioration, and they’re good at finding it. Regular maintenance documentation can actually help you here.
Excluded perils. Flood and earthquake damage are excluded from standard policies. This surprises people every year. The Insurance Information Institute (III) notes that flood damage is one of the most misunderstood exclusions in home insurance, and standard policies specifically exclude it regardless of the cause. If your basement floods from heavy rain, a standard policy won’t cover it. Flood coverage requires a separate policy through the National Flood Insurance Program or a private insurer.
Late reporting. As mentioned, failing to report promptly gives the insurer grounds to question whether the damage was properly mitigated and whether the claim is timely.
Misrepresentation. Overstating the value of lost items or claiming items you didn’t own is fraud. It also gives the insurer grounds to deny the entire claim under some policy conditions.
Coverage limits too low. This isn’t a denial, but it’s just as painful. If you’ve made improvements to your home but never updated your coverage, you might receive far less than you need to rebuild. Understanding how much home insurance you actually need is worth reviewing before you ever file a claim.
For older homes especially, the gap between insured value and actual replacement cost can be significant. The article on homeowners insurance for older homes covers this in detail and is worth reading if your home was built before 1980.
The claims process rewards preparation and attention to detail. Document your property now, before anything happens. A fireproof document safe like those available on Amazon can protect your policy documents, receipts, and home inventory in the event of a fire. (This site may earn a commission on qualifying purchases.) Understand your policy’s actual cash value versus replacement cost provisions. Know your deductible. And when something does go wrong, slow down, document carefully, and don’t let urgency push you into accepting a settlement that doesn’t cover your actual loss. The insurer has done this thousands of times. With the right preparation, you can hold your own.
This article is for general informational purposes only and does not constitute insurance advice. Coverage details, exclusions, and costs vary significantly by insurer, policy type, and location. Always review your policy documents and consult a licensed insurance professional for advice specific to your situation.
Sources
- Honeywell 1104 Fireproof and Waterproof Safe Box
- naic.org
- Encircle or Sortly
- Amazon
- SentrySafe 1200 Fire-Resistant File Cabinet
Disclosure: As an Amazon Associate, we earn a small commission from qualifying purchases at no extra cost to you. We only recommend products that genuinely support the topics covered in this article.
- Kidde 10-Year Battery Smoke & CO Detector (~$32), Dual smoke and carbon monoxide detector with 10-year sealed battery, no battery replacement needed for a decade.
- Ring Alarm 8-Piece Security Kit (~$199), Professional-grade DIY home security system with optional 24/7 monitoring, top way to qualify for insurance discounts.
- Certified Pet First Aid Kit with Guide Book (~$22), Certified pet first aid kit with step-by-step instructions, an essential item for every pet owner.
- EVERLIT 95-Piece Vet-Approved Pet First Aid Kit (~$32), Vet-approved 95-piece kit for dogs and cats, covers cuts, burns, sprains, and emergencies until you can reach a vet.
Recommended Resources
Disclosure: As an Amazon Associate, we earn a small commission from qualifying purchases at no extra cost to you. We only recommend products that genuinely support the topics covered in this article.
- Kidde 10-Year Battery Smoke & CO Detector (~$32), Dual smoke and carbon monoxide detector with 10-year sealed battery, no battery replacement needed for a decade.
- Ring Alarm 8-Piece Security Kit (~$199), Professional-grade DIY home security system with optional 24/7 monitoring, top way to qualify for insurance discounts.